5 Crucial Steps for Obtaining a Great Immunofluorescent Cell Image
The development of recent, high-resolution imaging technologies allows researchers to visualize submicron structures—or even nano-scaled structures—in their cells and tissues of interest by using immunofluorescent staining. This, however, already requires careful optimization steps during sample preparation, in order to acquire sharp images, and protocols may become more demanding as image resolution increases.
Although "optimal" protocols are provided by a variety of antibody manufacturers, there is unfortunately no standard procedure that can be applied to all sample types. Indeed, most of the time, researchers need to find the best workflow through trial and error.
In theory, immunofluorescent staining protocols consist of the following six basic steps: fixation, permeabilization, blocking, primary and secondary antibody incubation, and image acquisition. However, at each step there are many little details that—when done one way or the other—can make a difference in whether you get a good immunofluorescence image or a bad one.
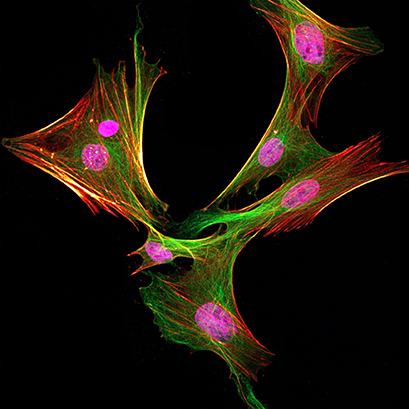
| Bone marrow mesenchymal stem cells from Lewis rat were stained with anti-rabbit PCNA antibody (shown in magenta), anti-alpha-tubulin antibody (shown in green), and phalloidin (shown in red hot). The image was acquired using Leica SP8 confocal microscope. |
Since jumping into the research environment as a M.Sc. student in 2017, I have been working with various types of mesenchymal stem cells and embryonic tissues to investigate craniofacial regeneration and development. In addition, I have been immersing myself in the world of immunofluorescent stainings and have captured countless images, including thecover art for the issue of the Journal of Dental Research that contained my very first publication (Yamada et al., 2019). After spending roughly 300 hours per year doing fluorescent imaging, I discovered the perfect immunofluorescence protocol for my cells and applications. I have learned that some little tweaks here and there can really make a difference!
In this article, I am going to share my top 5 basic—but often overlooked—optimization steps that will improve your immunofluorescent cell images.
1. Know Your Target Protein and Determine the Fixation Protocol
The first crucial consideration to make is deciding which fixative to use for your samples. Various fixatives, including aldehydes (e.g., paraformaldehyde: PFA), alcohol (e.g., ice-cold methanol), and acid-based solutions (e.g., trichloroacetic acid) have shown an excellent compatibility with immunofluorescence, however each of these fixatives has its pros and cons. PFA and methanol are good candidates to start with. You can find out about the differences in their fixative properties in the literature (e.g. Eldred et al., 1983).
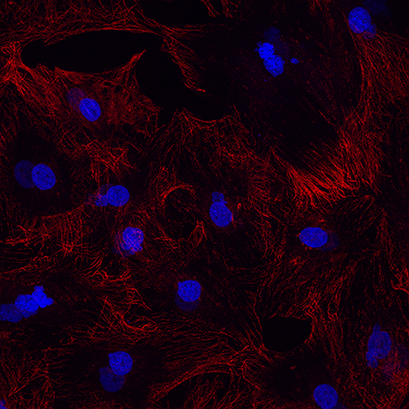
Regardless of which fixative you choose, it is crucial to optimize the duration of the fixation. One should avoid over-fixation, as it causes destructive effects on the cells and deteriorates antibody recognition (Fig. 1A). Nevertheless, one should also avoid under-fixation, as it allows your targeting protein to move from its native sites and diffuse into the "outside world". This leads not only to bleary images, but also false positive staining.
When time is important, temperature is also important. A low temperature makes the reaction slow and less destructive to the cells, but it may give the proteins time to move around before being immobilized. Generally, fixation at low temperatures is preferable when strong/immediate fixatives are used, such as ice-cold methanol. For milder fixatives, like PFA, fixation at an ambient temperature may be more suitable, at least for mono-layer cells.
I used to blindly follow the rule, "4% PFA for 15 minutes at room temperature," however, I later found that my samples were under-fixed and I wasted a lot of time and resources. This may not happen often, but it happens. Double check your fixation protocol, when in doubt!
Fig. 1A: Example for over-fixation. Methanol was used for 15 minutes at room temperature. Alpha-tubulin in red and nuclei, DAPI in blue |
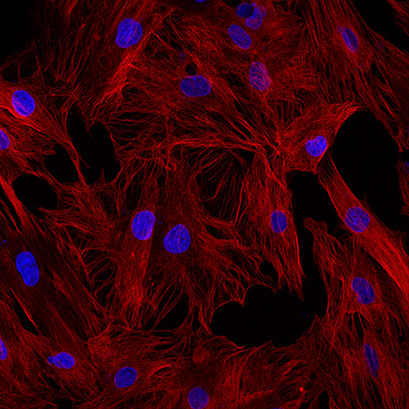
Fig. 1B: Example for properly fixed cells: Ice-cold methanol for 5 minutes at -20 degree. Alpha-tubulin in red and nuclei, DAPI in blue |
2. Determining Which Detergent to Use and When to Use it (or Not)
When permeabilization is required, non-ionic detergents (e.g., Triton X-100 and Tween-20) are commonly included not only in the permeabilizing buffer, but also often in the blocking buffer, washing buffer, and staining buffer. This is because the use of detergent actually improves the efficiency of blocking and removes non-specific antibody binding during washing steps. However, if your targeting protein—especially on the cellular membrane or the cytoskeleton—shows up on your images less abundantly than what you expected, the detergent might be interfering with the immunostaining.
Triton X-100 and Tween-20 have chemically different characteristics, but most importantly, Triton X-100 permeabilizes the cell membrane more robustly than Tween-20. If Triton X-100 is used in a permeabilization step, it is your choice if you want to continue to use Triton X-100 in your washing, blocking, and staining buffer, or if you will switch to Tween-20, or even continue without any detergent. Alternatively, you may want to use Tween-20 only for permeabilization. Finally, do not forget that sometimes you do not need the detergent at all.
3. Low Concentration, But Long Incubation
Using the least necessary amount of antibody is extremely important for increasing the signal-to-background ratio. I would always recommend determining the lowest working concentration by using antibody titration, even though an optimal concentration may be proposed by the manufacturer. Generally, a longer incubation (e.g., 4°C, overnight) with a low antibody concentration offers a sharper, stronger, and more specific staining pattern, when compared to shorter incubation times with a high antibody dosage. Antibody titration is sometimes laborious and requires extra resources and time, but you won't regret it once you have determined the optimal working concentration.
4. Wash, Wash, and Wash
Washing is probably the most important step during the immunofluorescent staining process. Believe me, one never regrets additional washing steps! As long as a high-quality antibody is used, antigen-antibody binding is strong enough to tolerate "additional" washing steps that, at the same time, will effectively remove weakly or non-specifically bonded antibody. A faint murmur may be about to break from your lips, "It is time consuming and monotonous." I know, but washing really takes your images from good to great! Add one or two more washing steps, so that you can have time to enjoy a cup of tea.
5. Find the Right Optical Equipment
Last but not least, the fine detail in the images is only captured when all optical systems are well optimized. If you do photography, you may be aware that high-end lenses are often more expensive than the camera (e.g., sensor system) itself. This is simply because there have been so many resources and so much time spent on the development of the delicate glass and coating. One can say that the quality of these lenses determines the quality of the images. The same theory applies to microscopic systems. The optical systems of the microscope are the key determinant in the final image quality. Fun fact: this is the component that the microscope manufacturers fiercely compete with one another over, in order to advance their technology!
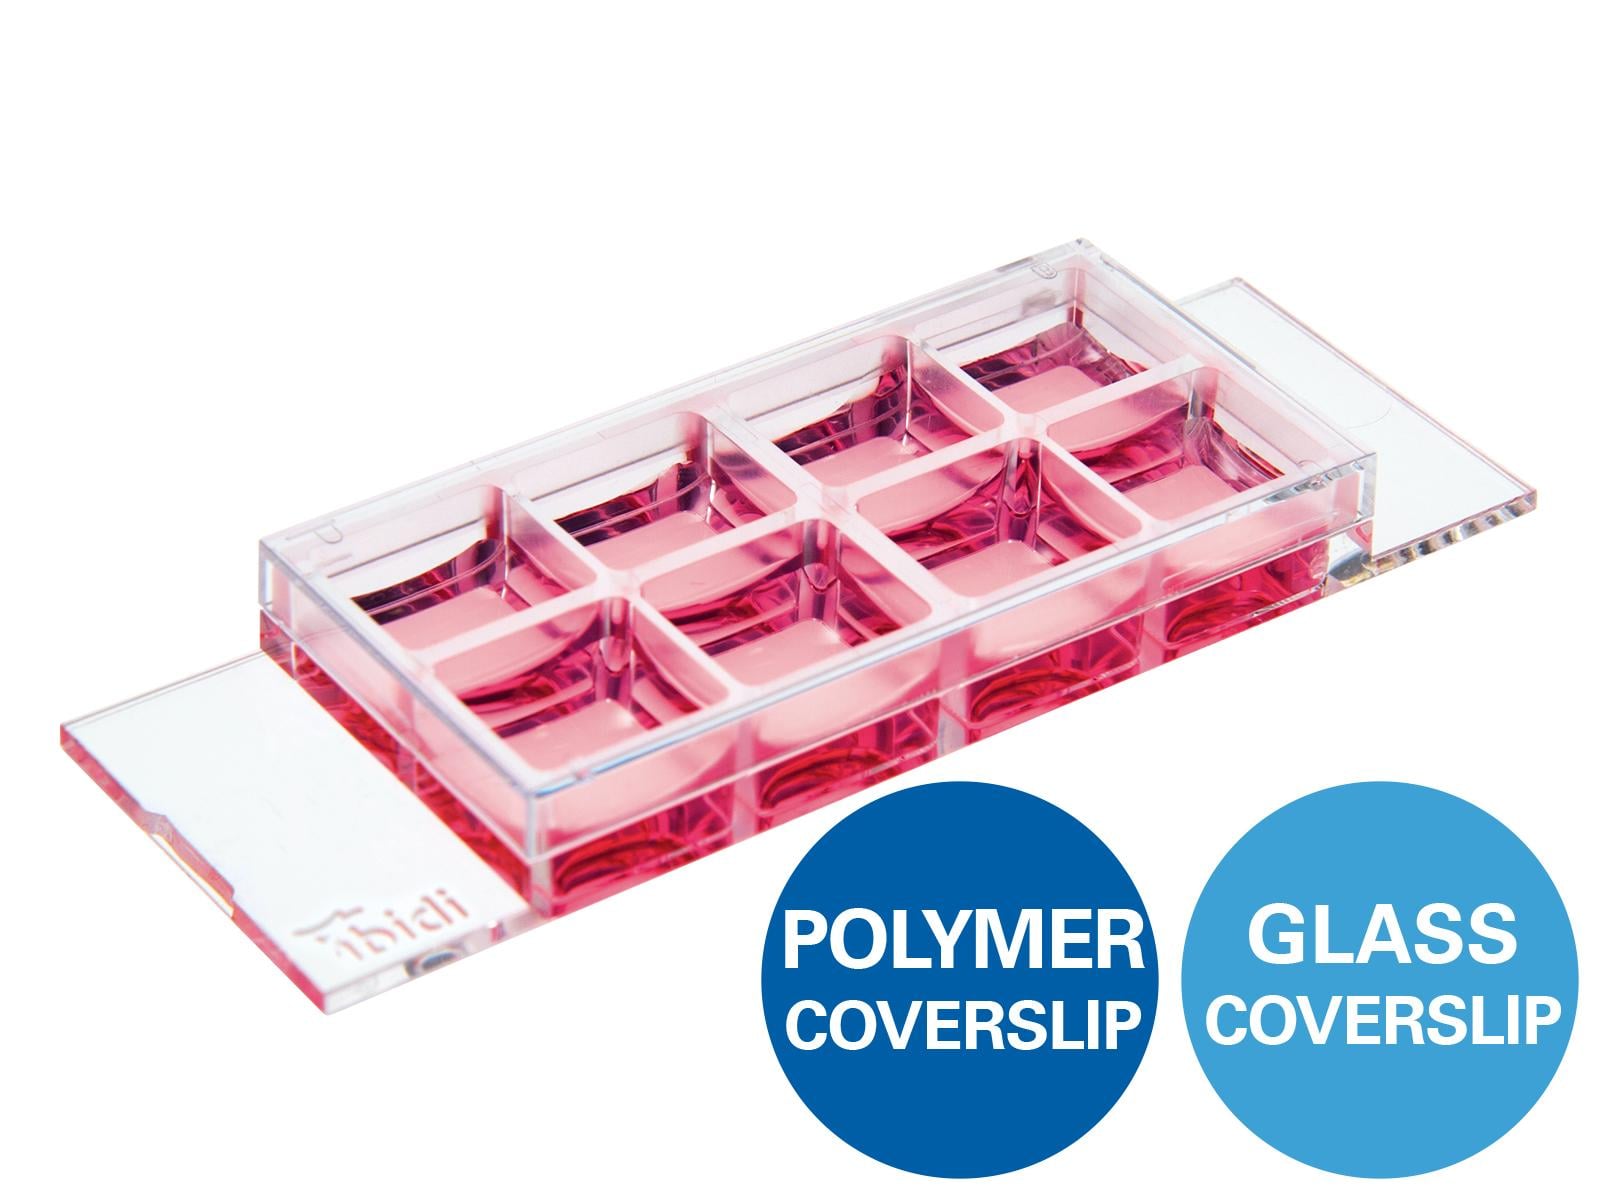
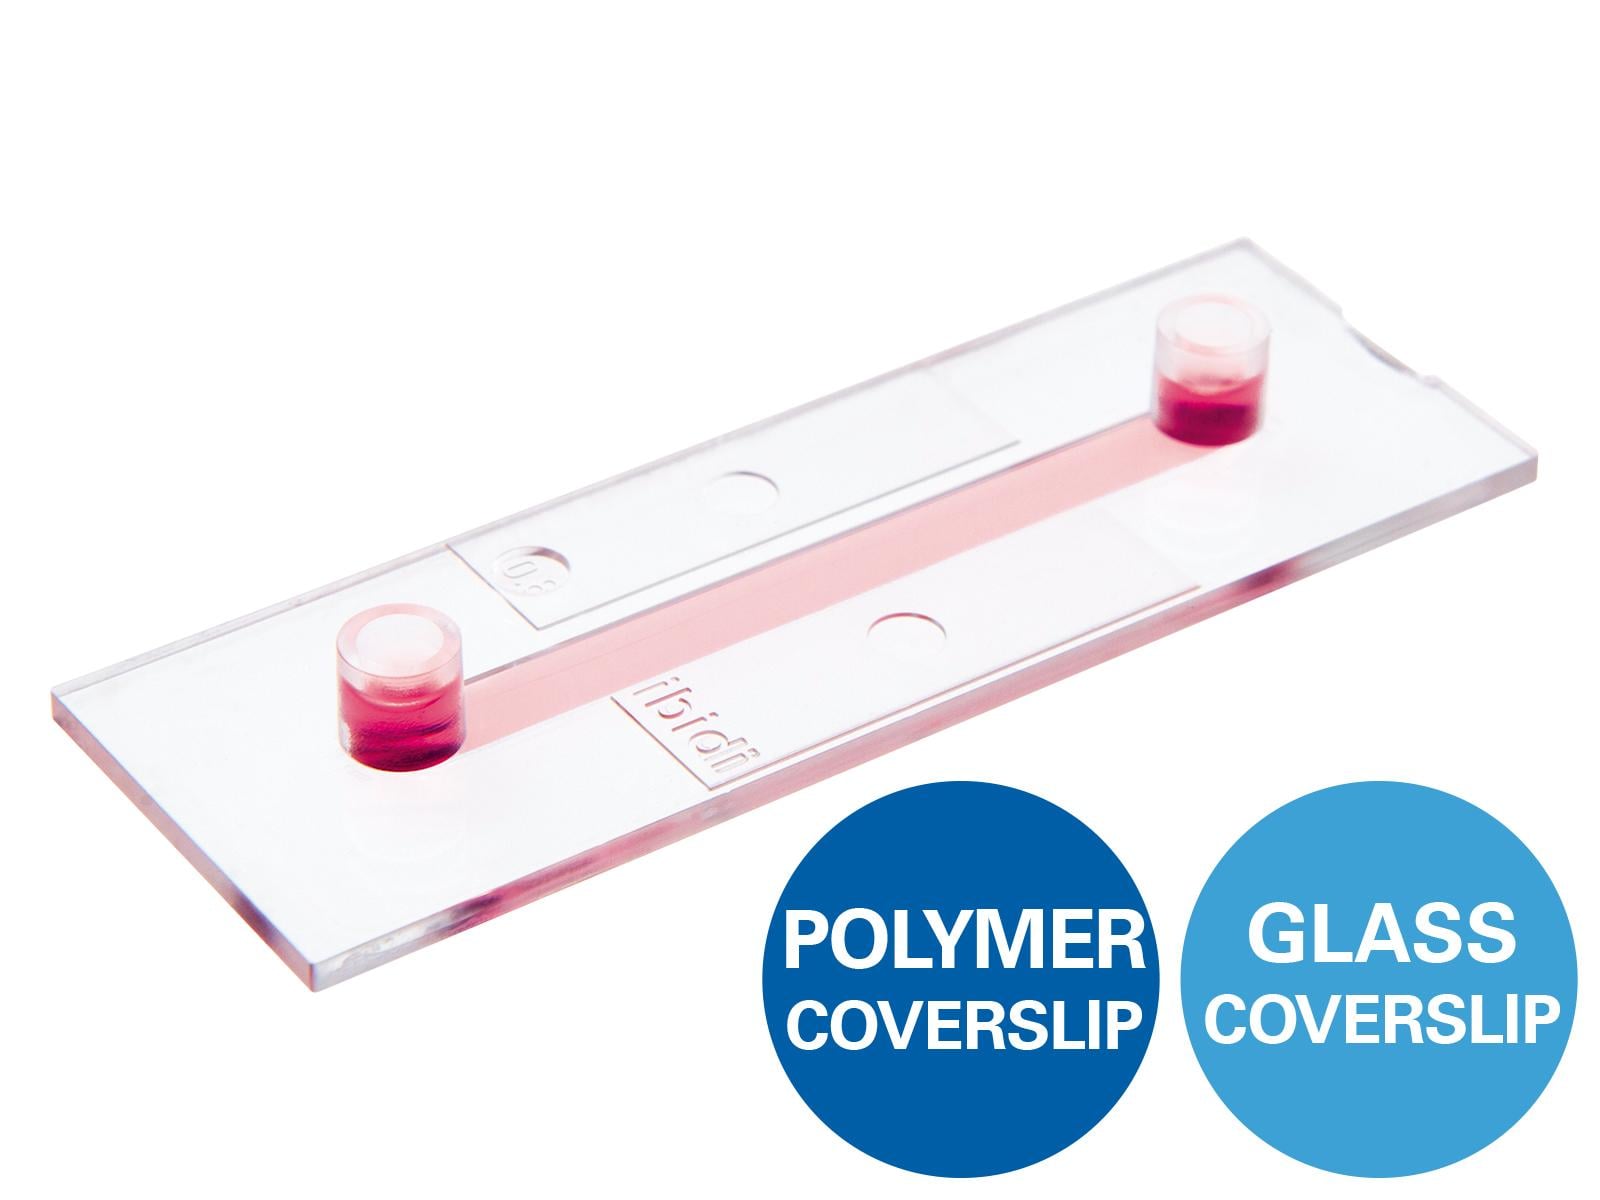
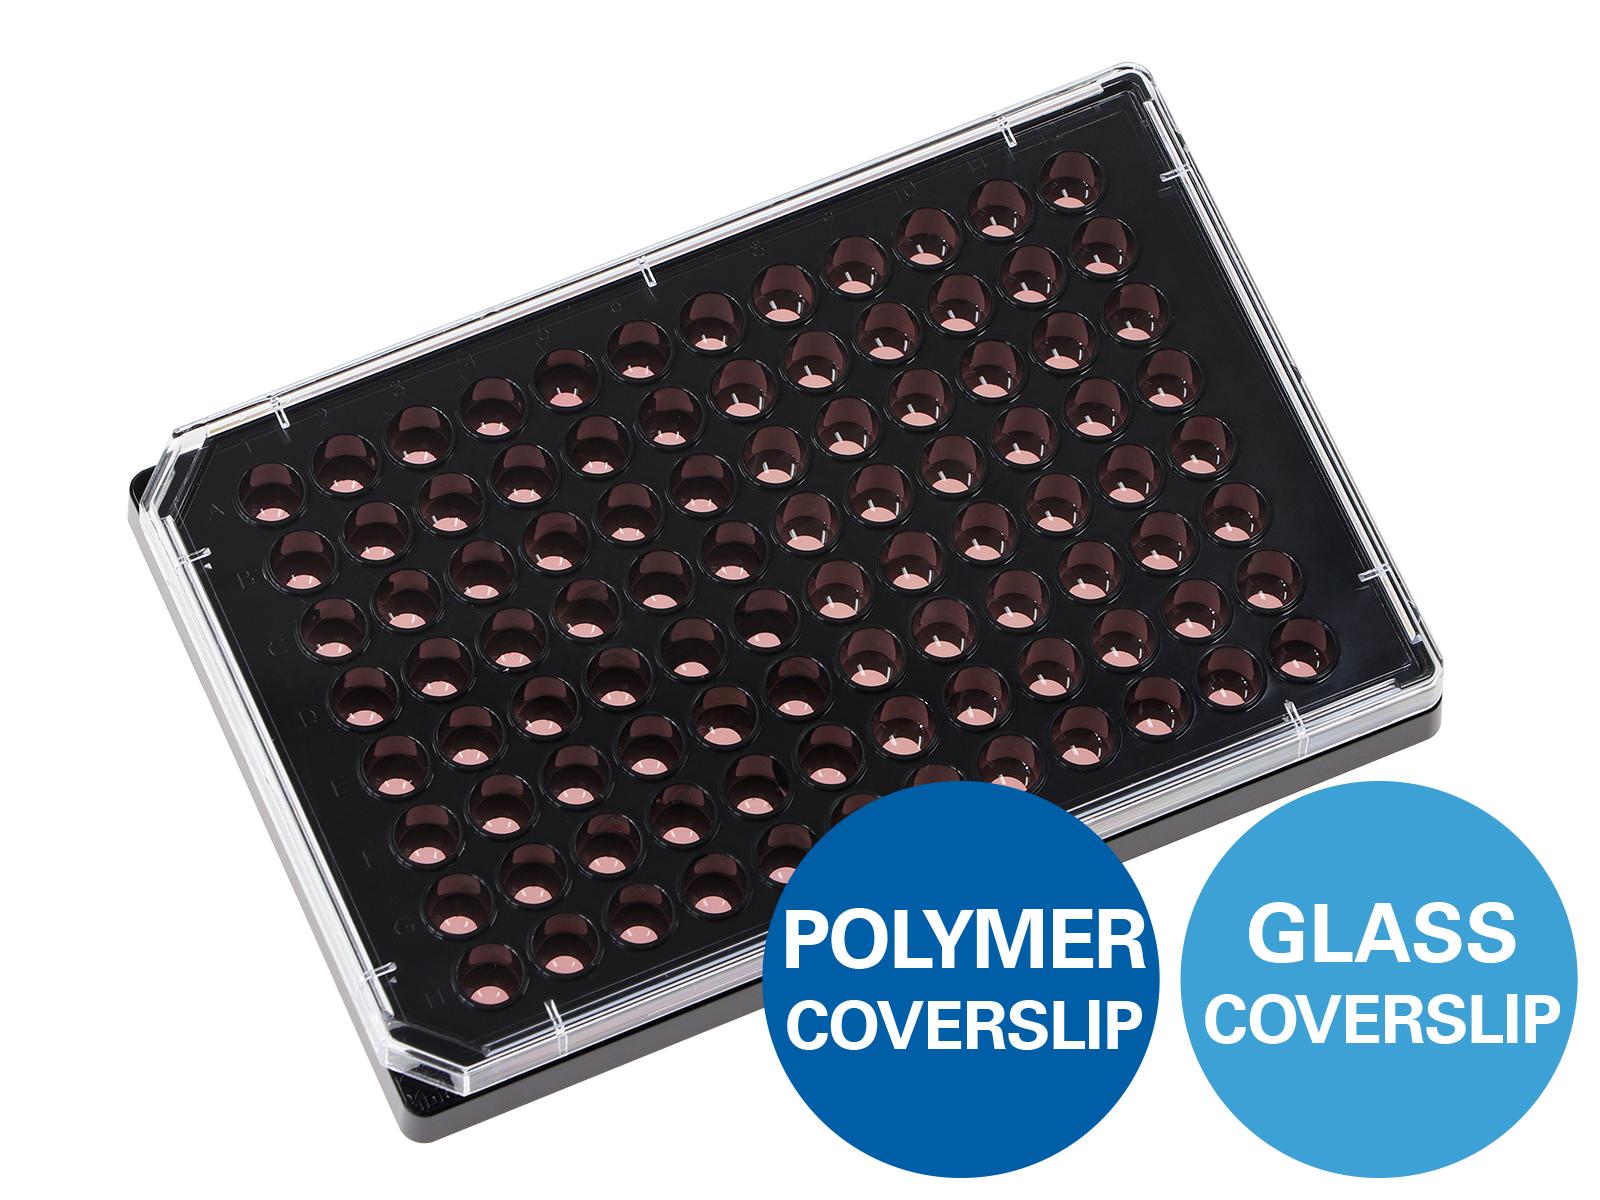
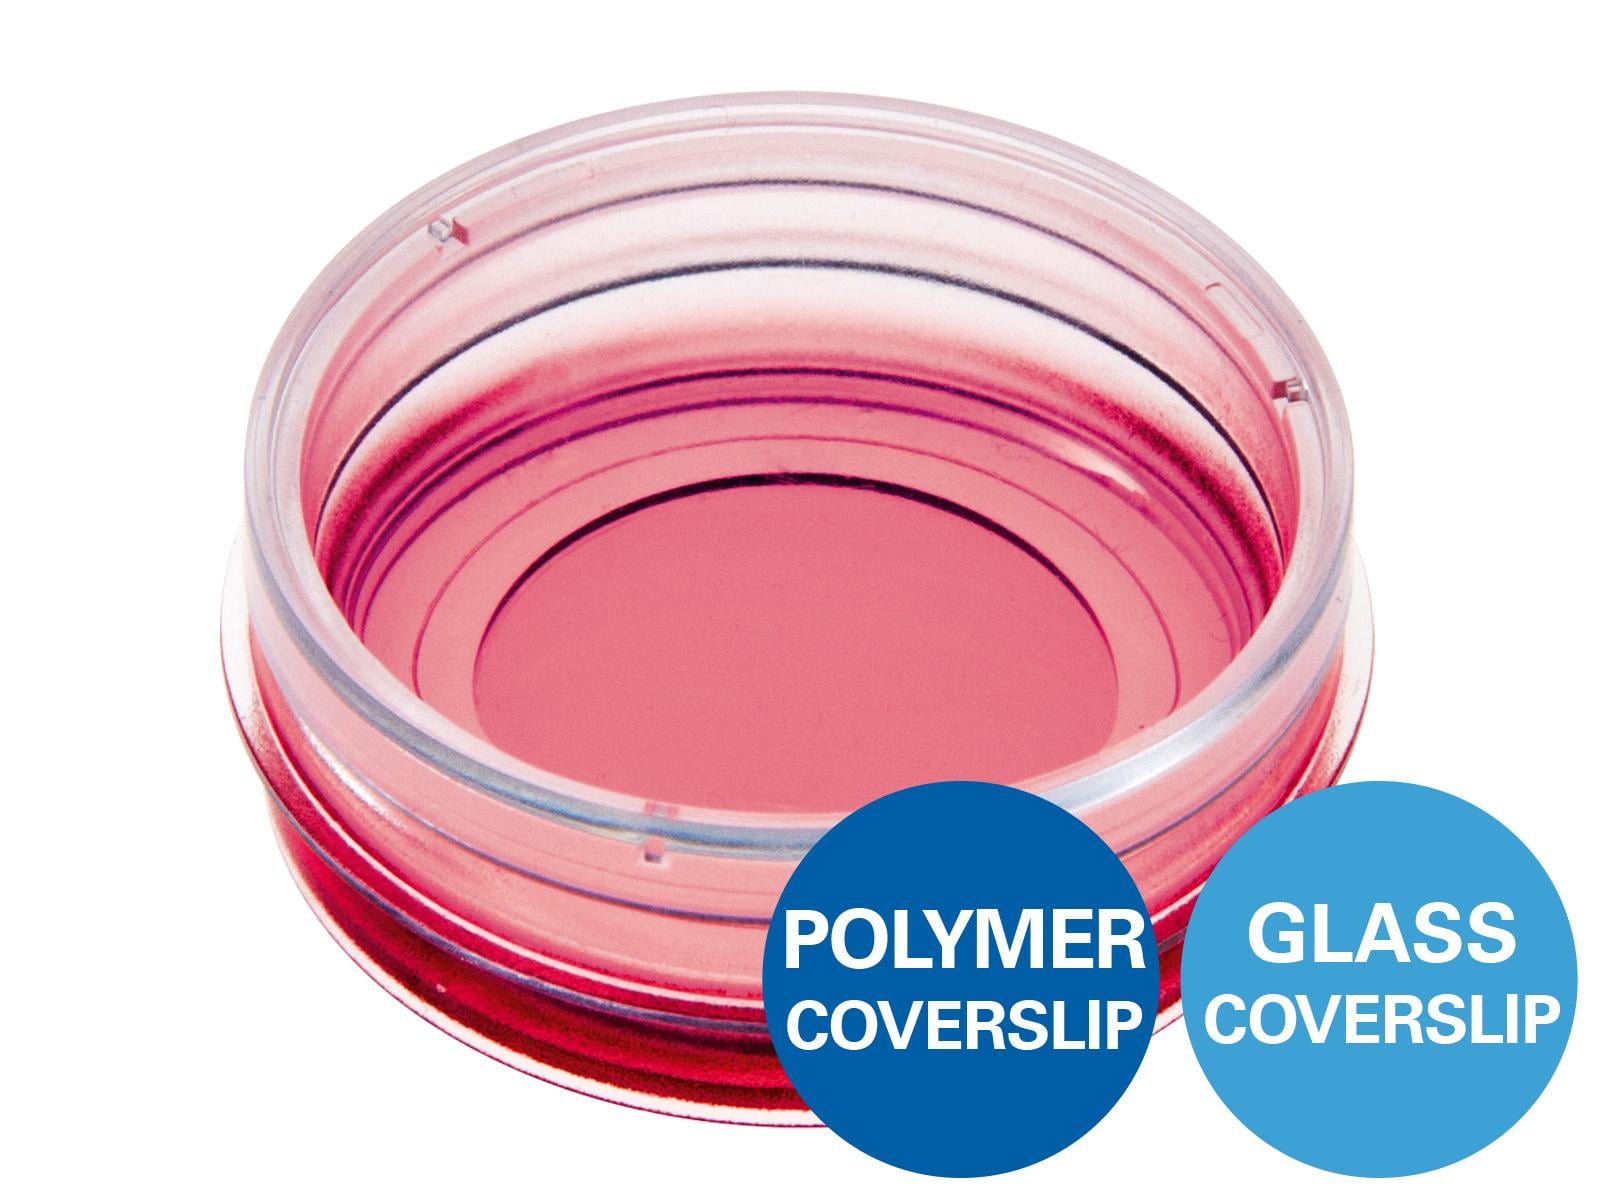
Now I can hear you saying, "We cannot change the optical system of our microscope." There is actually something you can change, which will drastically influence the imaging results independently of your technical equipment: the coverslips or imaging chambers that you use to culture or place the cells and samples in! These components, made from thin glass or plastic, are completely transparent to the human eye, but each of them—where the light/laser goes through—will significantly affect the final imaging outcome, just as if they were part of your optical system.
This is where the ibidi µ-Slides come into play! The ibidi µ-Slide chambers and coverslips have been developed to possess excellent optical quality for high-resolution microscopy, due to their thin coverslip bottom. For standard, high-resolution imaging of cells (e.g., phase contrast, confocal, or 2-photon), the cell culture-treated (ibiTreat) polymer version with a No. 1.5 coverslip thickness of 180 µm is highly recommended, and the µ-Slides with a #1.5H glass bottom (170 µm +/-5 µm) are perfect for TIRF and super-resolution microscopy applications.
I was introduced to ibidi µ-Slides at the beginning of my PhD project, and have been using them ever since for my IF experiments. I recommend trying them, if you have never used them before!
Find out more on our Application Website about the ibidi imaging chambers and the Coverslip Bottom.
| Shuntaro Yamada - D.D.S./Ph.D. Candidate Shuntaro is a D.D.S/Ph.D. candidate at the Centre for Translational Oral Research in the Tissue Engineering Group at the University of Bergen. His research interests include the mechanical regulation of stem cell fate for bone tissue regeneration, and he has an expertise in immunofluorescent staining and imaging of cells, embryonic, and postnatal tissues. Check out Shuntaro's Instagram Channel: @stemcell_art |
REFERENCES
- Yamada S, Lav R, Li J, Tucker AS, Green JBA. Molar Bud-to-Cap Transition Is Proliferation Independent. J Dent Res. 2019 Oct;98(11):1253-1261. doi: 10.1177/0022034519869307. Epub 2019 Aug 8. PMID: 31393749; PMCID: PMC6761786.
- Eldred WD, Zucker C, Karten HJ, Yazulla S. Comparison of fixation and penetration enhancement techniques for use in ultrastructural immunocytochemistry. J Histochem Cytochem. 1983 Feb;31(2):285-92. doi: 10.1177/31.2.6339606. PMID: 6339606.
 (17)
(17)  (0)
(0)