The Live Cell Imaging Experiment
Requirements at a Glance
Environment
- Stable conditions (e.g., temperature, humidity, light, and vibrations)
Stage Top Incubator
- Precise and stable control of physiological parameters:
Temperature, humidity, CO2 levels, O2 levels (optional) - Compatible with:
- Microscope (microscope table, objective)
- Cell culture vessels being used
Fluorescence Staining
- Non-invasive
- Specific
- Highly photostable
- Requires low photon dose (less phototoxicity) for detectability
Microscope
- Inverted microscope; configuration depends on experimental setup
- Camera for time-lapse image acquisition
- Motorized stage for parallel image acquisition
- Autofocus (hardware- or software-based)
- Secured against vibrations
Image Acquisition
- High signal-to-noise ratio
- Low photon dose
- Adequate resolution (depends on experimental setup)
Computer and Data Storage
- Hardware suitable for quick storage of huge amounts of data
- Software for data analysis
The most important factor for live cell imaging is the maintenance of cell viability, meaning that incubator conditions have to be established and maintained on the microscope. A stage top incubator must provide a precise and stable control of the temperature, humidity, CO2 levels, and, optionally, O2 levels. Keeping these parameters constantly in a physiological state ensures optimal experimental conditions and produces reliable, reproducible results.
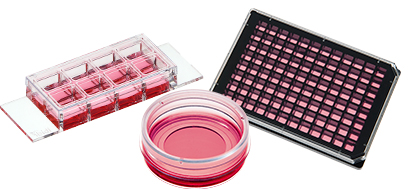
Compatibility with the microscope being used, especially to the microscope stage and the objective setup, is crucial for a stage top incubator. Furthermore, the stage top incubator must be compatible with the cell culture vessels being utilized in the respective experiment. Ideally, many different vessels can be used in the same stage top incubator.
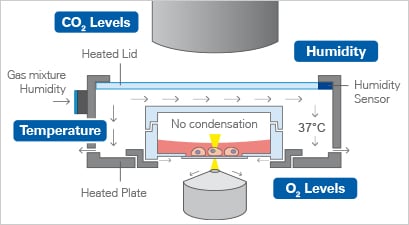
With fast and precise regulation of important environmental parameters, the ibidi Stage Top Incubators provide stable conditions for live cell imaging directly on the microscope.
ibidi Solutions
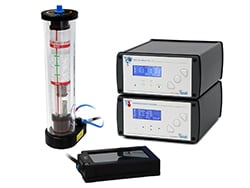
Physiological parameters: The ibidi Stage Top Incubators guarantee fast and precise control of temperature, humidity, CO2 levels, and O2 levels (optionally) of living samples, thereby creating and maintaining stable conditions for cell culture directly on the microscope.
Compatibility with microscopes: The ibidi Stage Top Incubators can be easily applied to all standard microscope stages that hold a multiwell holder, a K-frame stage, or a Nikon Eclipse Ti and Eclipse Ti2 motorized stage, respectively. Notably, the ibidi Stage Top Incubators are mounted quickly on the microscope, just like a multiwell plate. They can also be easily removed after the experiment, enabling access for standard microscope applications that do not require live
cell imaging.
Please find more compatibility information in our FAQs or contact our expert team.
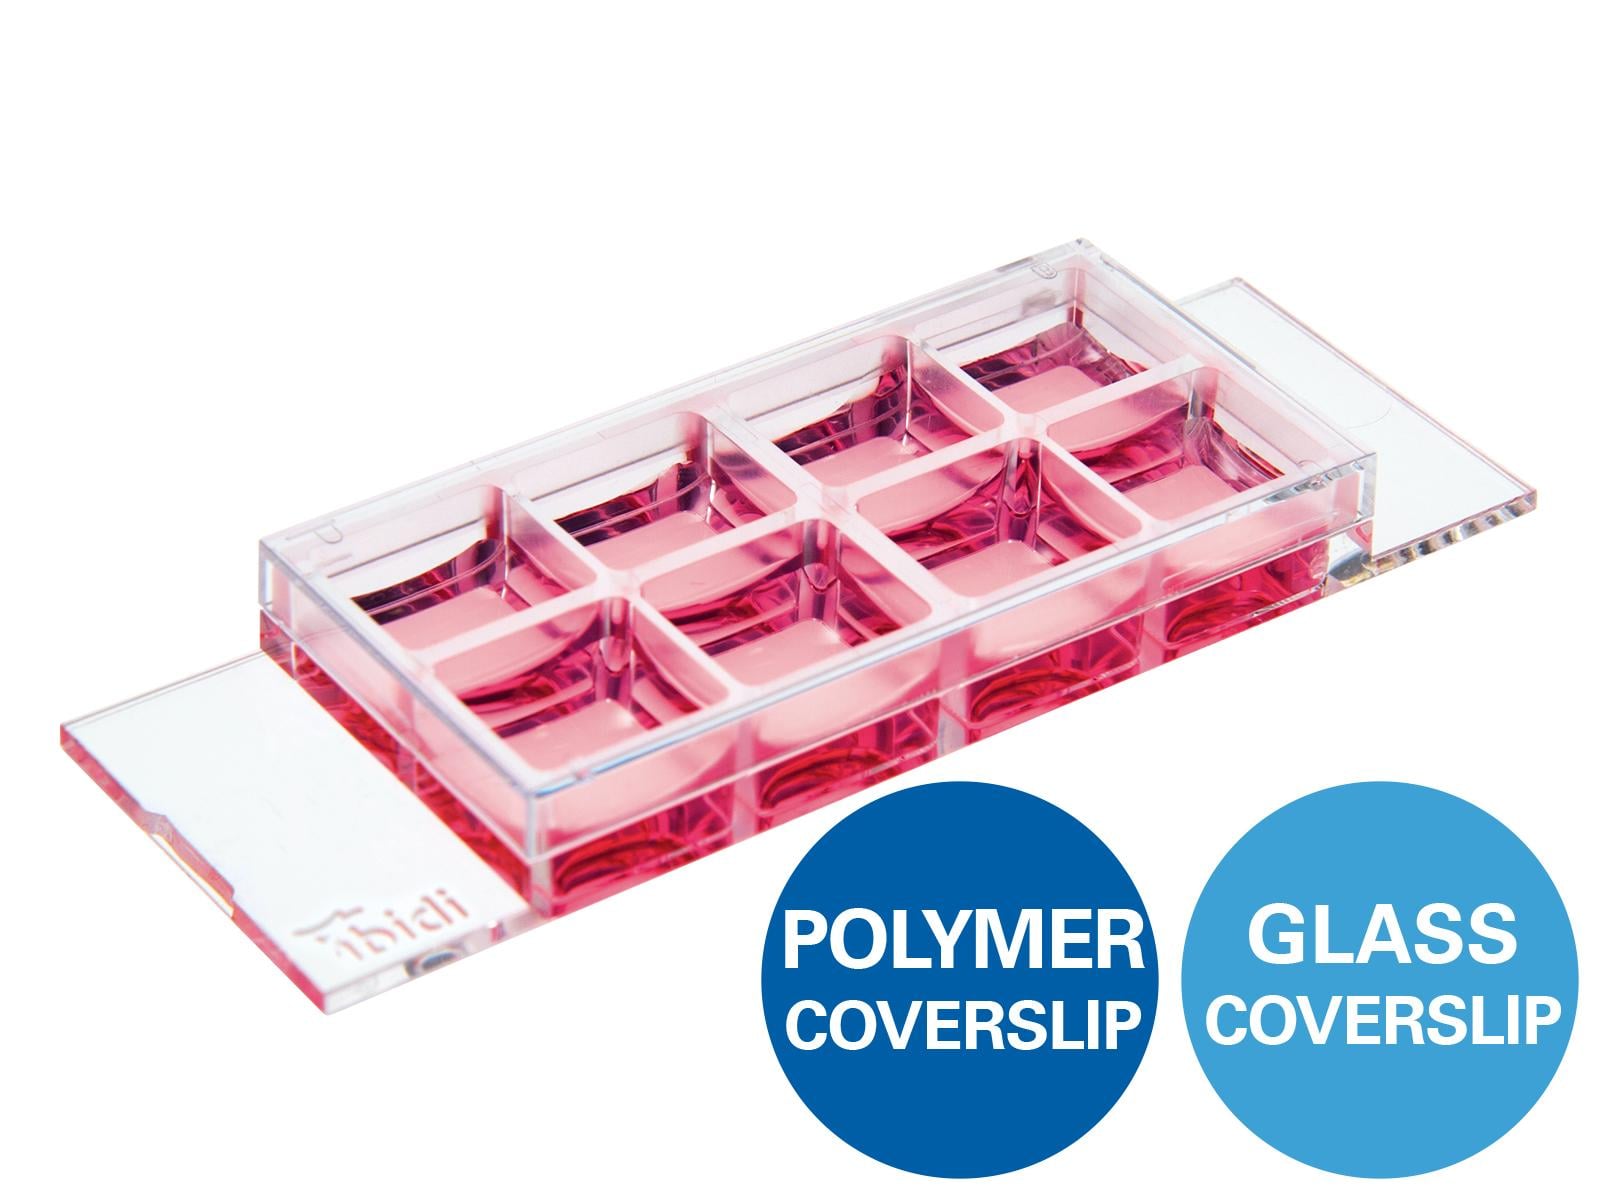
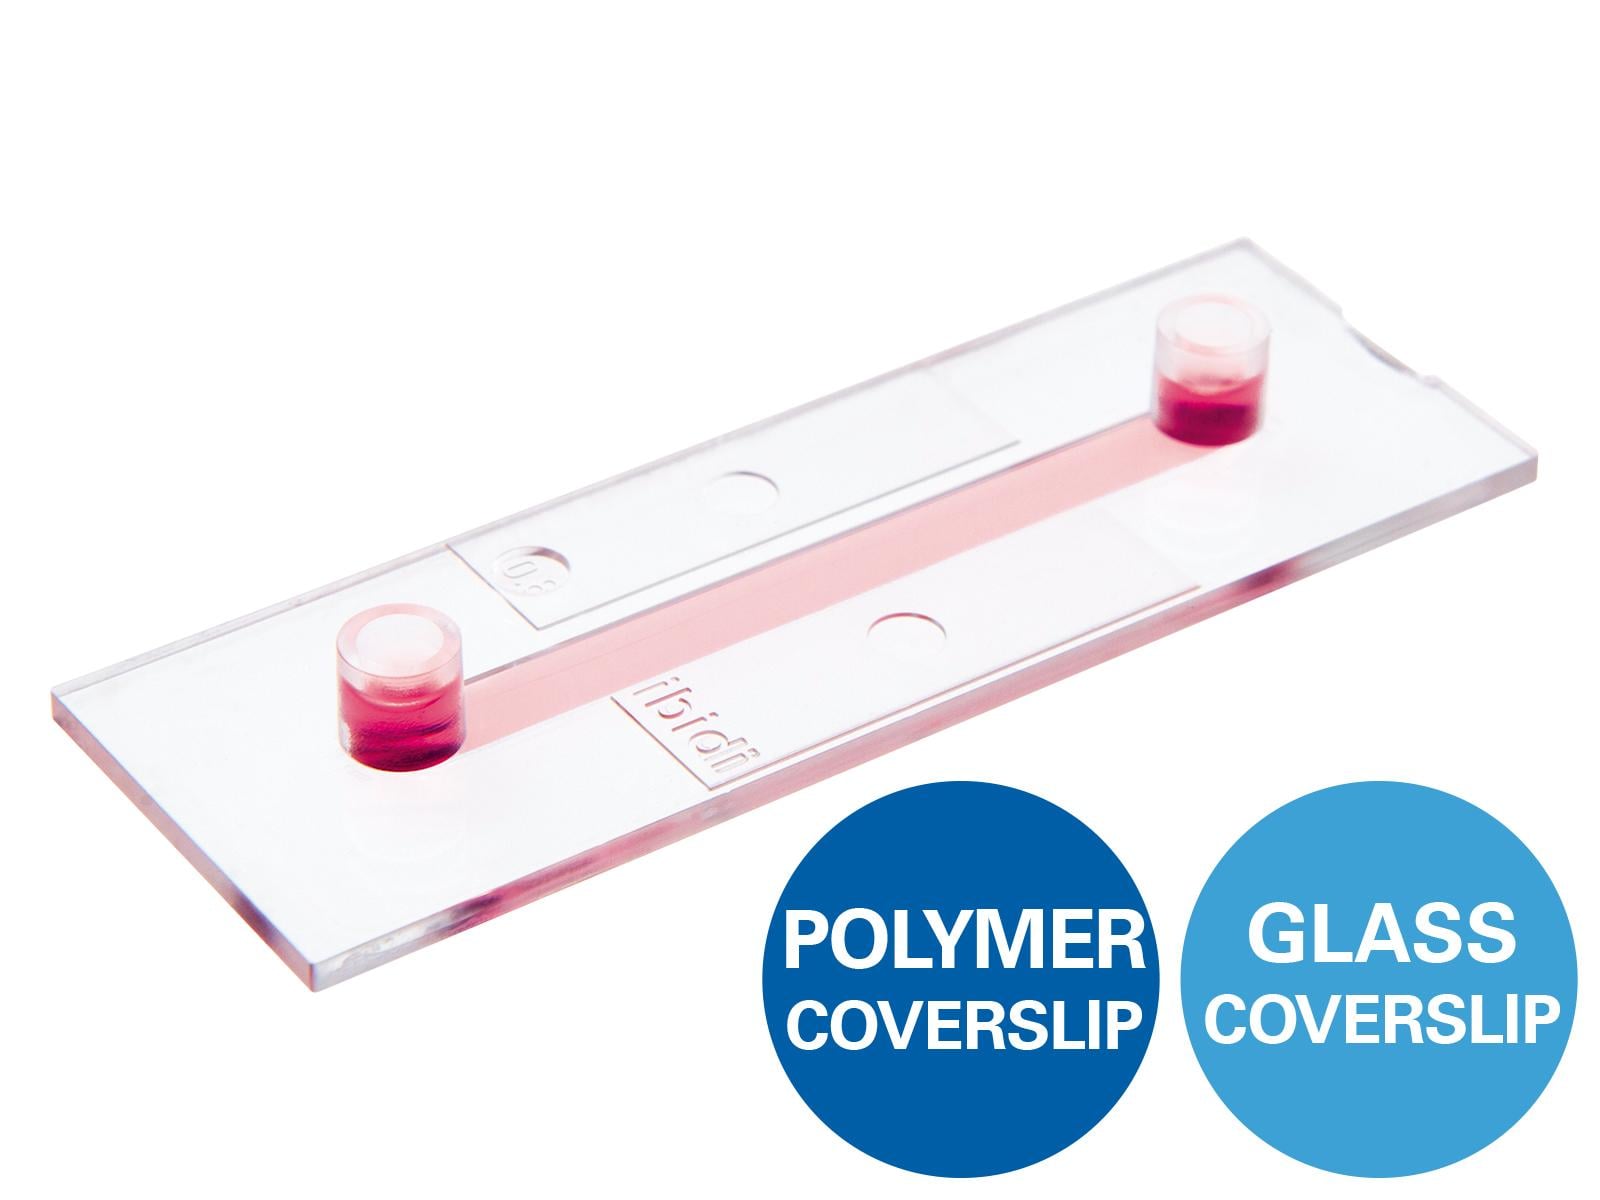
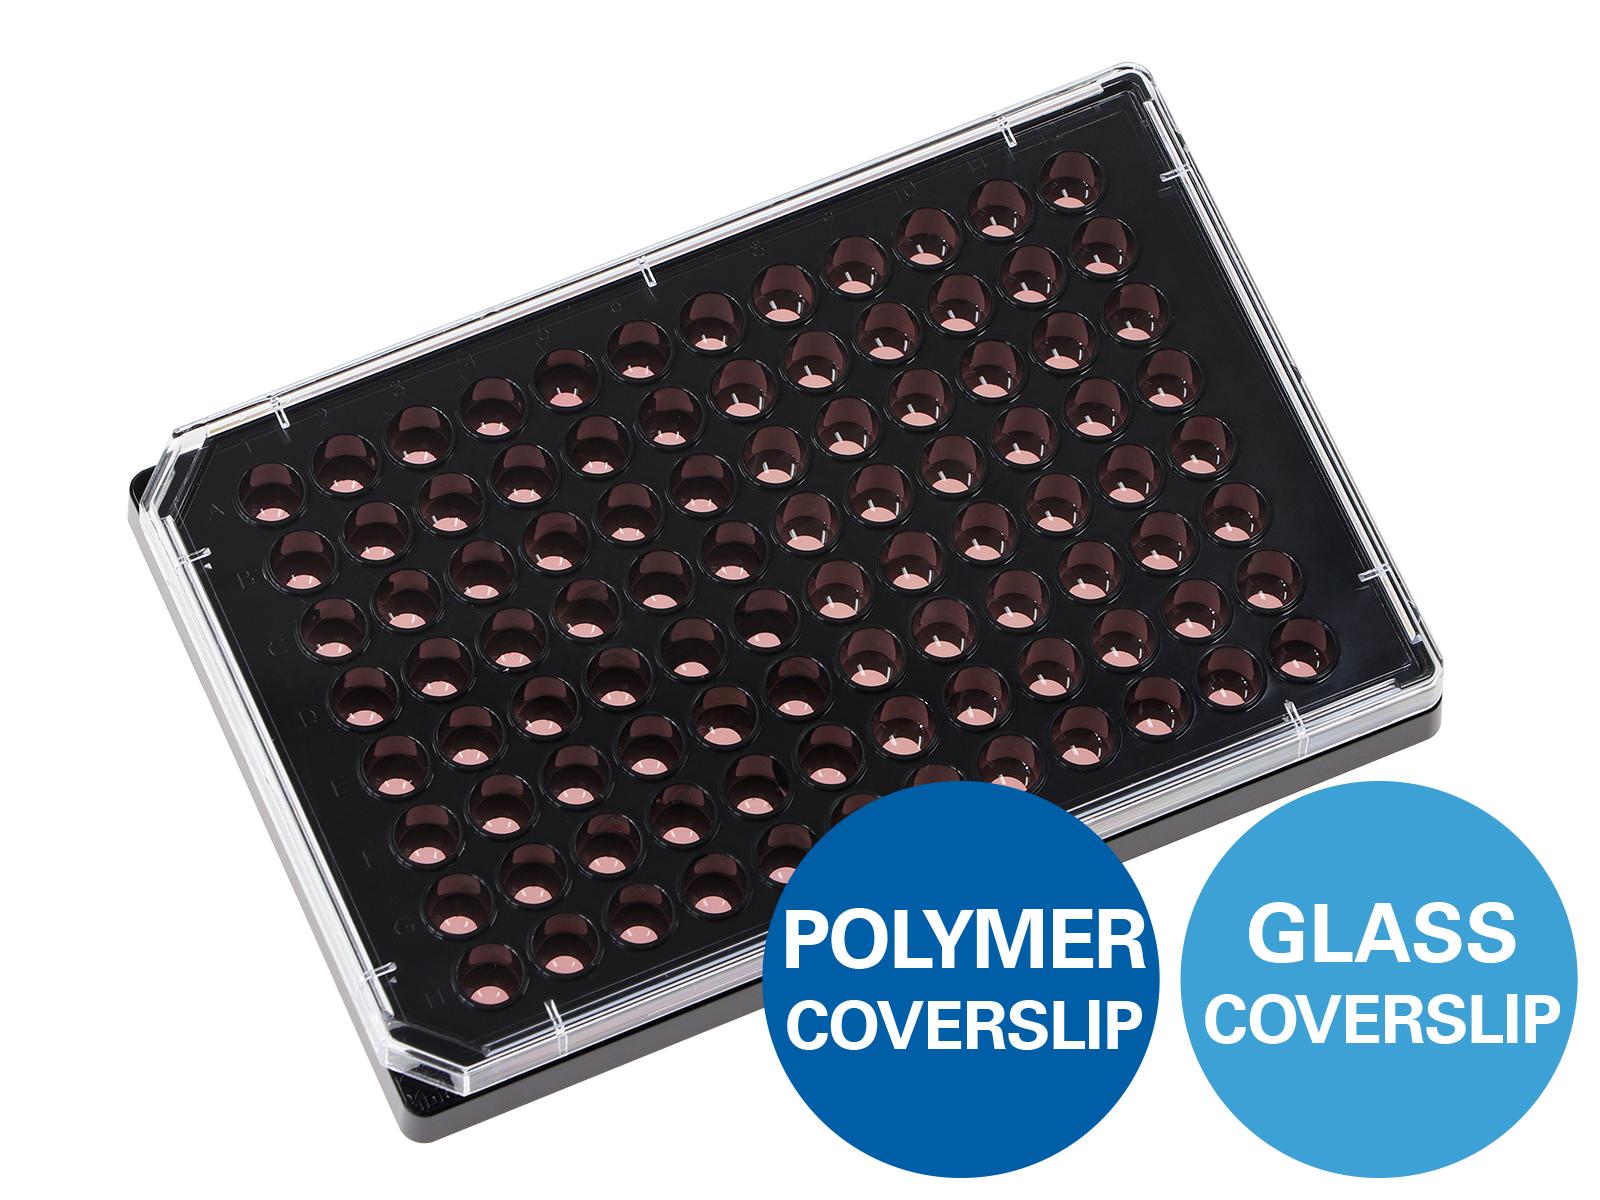
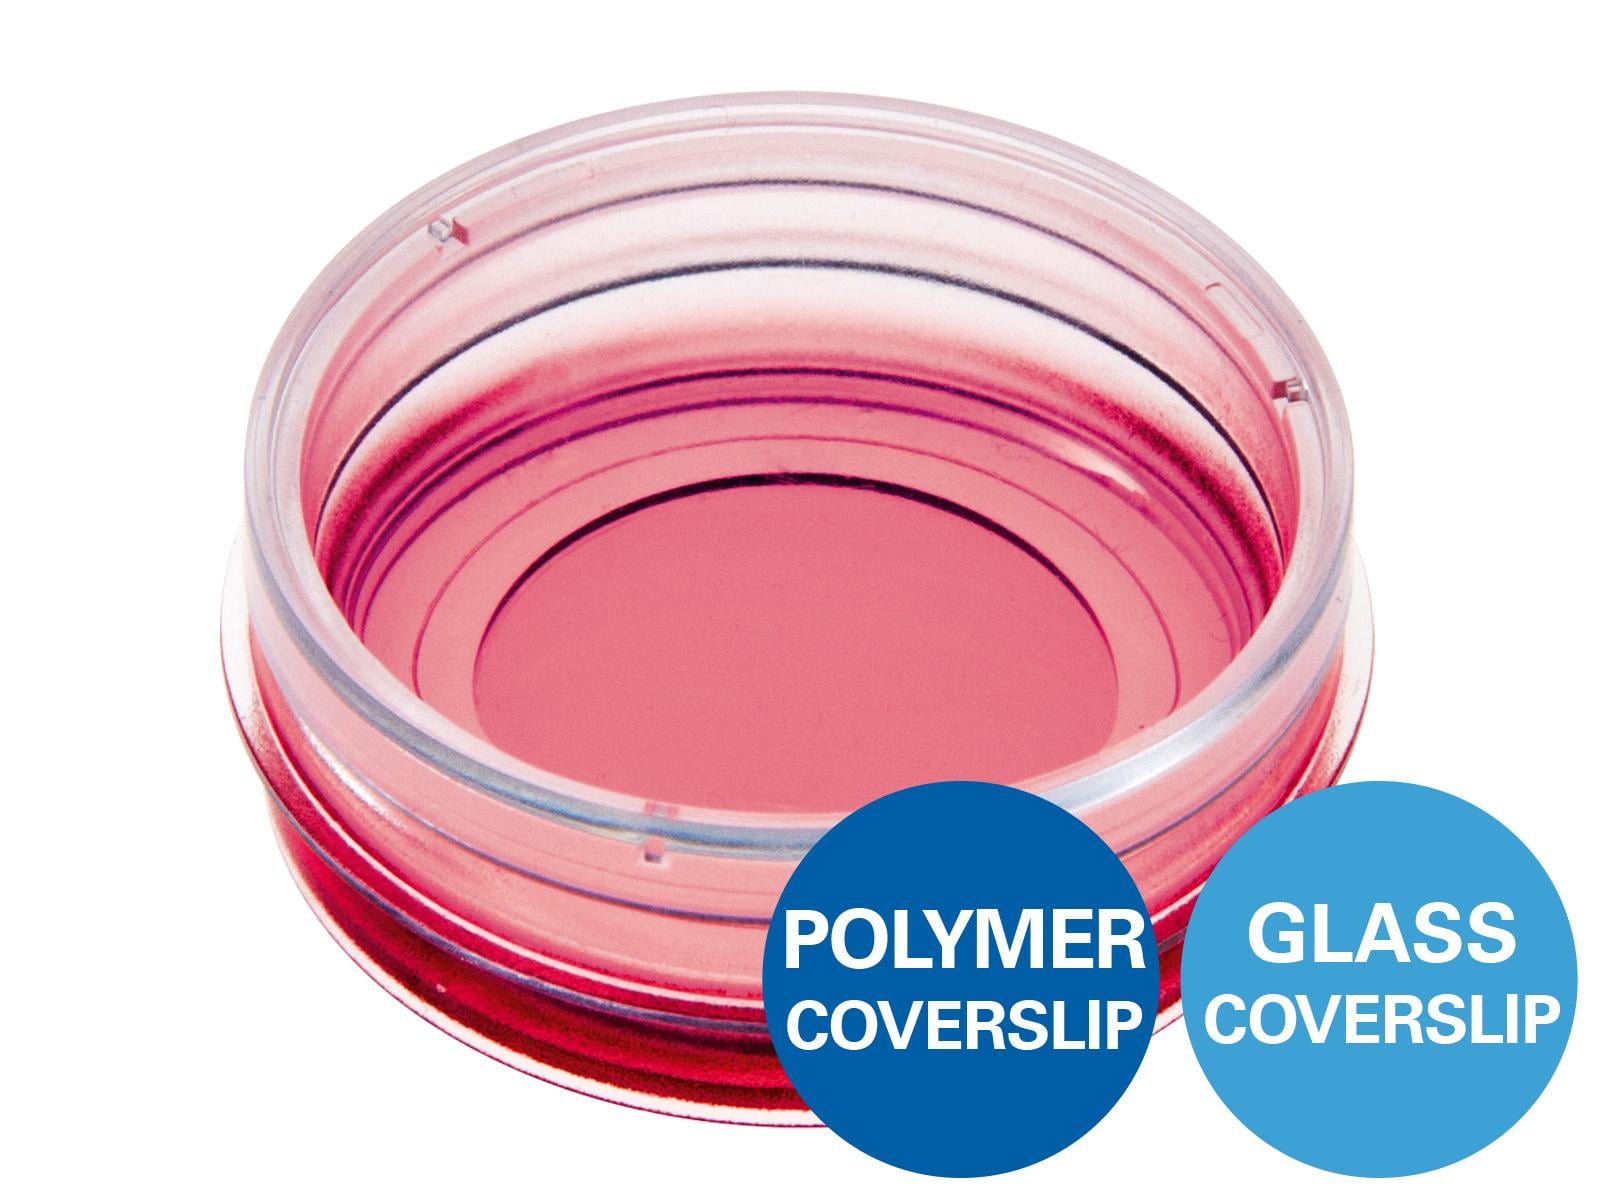
Compatibility with cell culture vessels: The ibidi Stage Top Incubators can be used with different cell culture vessels, including dishes, slides, and microplates.
Light microscopy without any staining is sufficient for several live cell imaging approaches, such as wound healing assays, chemotaxis assays, or tube formation assays. However, the analysis of single cellular structures requires a more specific approach like fluorescence microscopy.
Importantly, a fluorescence dye for live cell imaging applications needs to be specific and non-invasive. In addition, the fluorochrome must have a high photostability, since the imaging process may take several hours. Finally, cells are damaged by being exposed to photons. To reduce phototoxicity, fluorochrome detection requires the least possible photon dose, which also depends on the fluorophore and the applied microscopy technique. ibidi recommends performing a sufficient number of control experiments to exclude artefacts from phototoxicity, fluorescence stainings, and protein-tagged reporters.
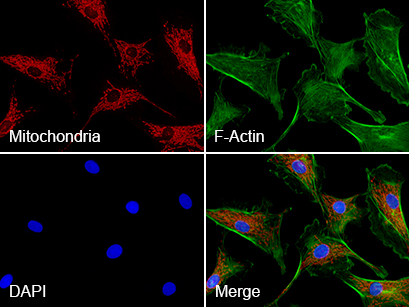
Triple immunofluorescence of bovine endothelial cells
Red: mitochondria, stained with MitoTracker™ Red CMXRos;
Green: F-actin, stained with Alexa Fluor™ 488 Phalloidin;
Blue: nuclei, stained with DAPI.
The optimal microscope type and configuration depend on the experiment being performed. However, some requirements apply to all microscopes being used for live cell imaging assays.
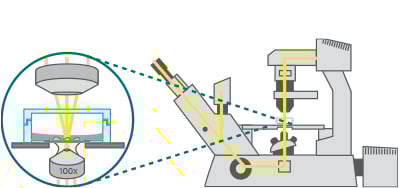
Live cell imaging microscopes are usually inverted, because most cell types sink to the bottom and onto the coverslip for adherence. In an inverted microscope, living cells are observed through the bottom of a cell culture vessel. Find the advantages of using an inverted microscope for live cell imaging here.
Using a camera for time-lapse image acquisition is necessary with every live cell experiment. In the case of fluorescence imaging, a sensitive camera should be used to take images with a high signal-to-noise ratio and a high acquisition speed.
If the sequential acquisition of images at multiple positions is needed, the microscope should be equipped with a motorized stage.
When using high-resolution time-lapse microscopy, we recommend the application of an autofocus system. This may be a hardware-based optical focus drift correction system like the Nikon Perfect Focus System (PFS), or a software-based autofocus.
The microscope should be protected against vibrations by using, for example, a special anti-vibration microscope table.
Microscopy Techniques
Depending on the research topic and availability of equipment, many microscopy techniques are suitable for live cell imaging.
Light microscopy is sufficient for several live cell imaging approaches, such as wound healing assays, chemotaxis assays, or tube formation assays. In this instance, phase contrast microscopy or differential interference contrast (DIC) microscopy can be used, because neither require any staining.
Fluorescence microscopy is widely used when a more specialized analysis is needed. This can be the observation of a special cell organelle, a single protein, or the dynamics of the cytoskeleton, for example. Since fluorescence microscopy requires photon exposure that damages the cells, the method used is always a compromise between keeping the cells healthy and achieving the highest possible image quality.
For high speed live cell imaging of fluorescent samples, spinning disc confocal microscopy is a useful technique. With very low photobleaching rates, two-photon and multiphoton microscopy is especially suitable for the live cell imaging of tissue samples with a maximal penetration depth of about 1 mm. For the 3D imaging of thick biological samples as a whole at high time resolution, light sheet fluorescence microscopy can be applied. Several high magnification microscopy techniques, such as TIRF and super-resolution microscopy, focus on single molecules.
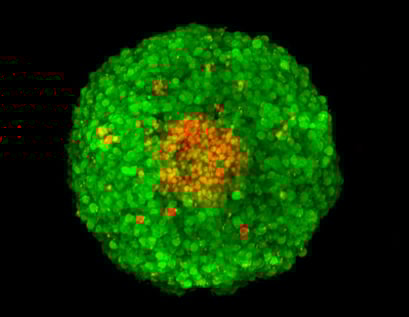
Z-stack of an FDA/PI-stained MCF-7 spheroid, acquisition by confocal microscopy. Green: FDA-stained living cells. Red: PI-stained dead cells in the necrotic center of the spheroid.
Image Acquisition
Prevention of Phototoxicity
Photo-induced radicals, such as reactive oxygen species (ROS), are the main cause of phototoxicity during live cell imaging. When using fluorescence-based microscopy techniques, it is especially crucial to minimize cell stress caused by excitation light. Phototoxic effects and photobleaching happen quickly in living cells and might alter the outcome of the experiment.
When considering the parameters listed below, it is necessary to find a compromise between an optimal signal-to-noise ratio and a high cell viability. ibidi recommends performing a sufficient number of control experiments to exclude artefacts from phototoxicity.
Here are some recommendations for achieving high cell viability with a good signal-to-noise ratio:
- Use shutters to minimize the time the cells are exposed to excitation.
- Minimize the exposure time per image.
- Maximize the time between the images for cell recovery.
- Close the field diaphragm as far as possible to minimize the area in which the cells are exposed to excitation light.
- Minimize the intensity of the excitation light.
- Use a highly sensitive microscope camera to optimize the signal-to-noise ratio.
- Use only the necessary level of signal-to-noise (e.g., do not always use the maximum signal-to-noise setting).
- Match fluorescence filters and fluorophores as closely as possible.
- Use longer wavelengths (e.g., green or red) instead of UV or blue light excitation for fewer phototoxic effects.
- Use objective lenses with the highest numerical apertures available for optimal signal detection.
- Decrease the background fluorescence by using cell culture vessels with low autofluorescence and specialized imaging medium.
- Add antioxidants, such as vitamin C, to the cell culture medium.
Icha J, Weber M, Waters JC, Norden C (2017) Phototoxicity in live fluorescence microscopy, and how to avoid it. BioEssays 39(8):1700003. 10.1002/bies.201700003.
read abstract
Magnification and Resolution
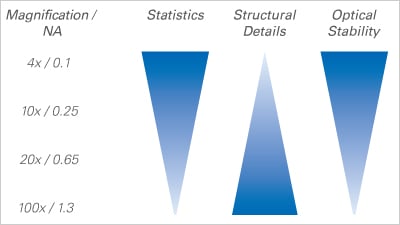
The magnification of the optical system defines both the resolution and the amount of cellular details that can be visualized.
Choosing the right magnification is a compromise between either having a higher resolution or observing more cells and creating detailed statistics.
Using low-resolution microscopy with a 4x or 10x objective can be advantageous for wound healing, chemotaxis, and tube formation assays, because focusing is less delicate. On the other hand, a high magnification is useful for imaging subcellular details for live cell imaging immunofluorescence assays.
Read on and learn more about the Parameters for Live Cell Imaging or have a look at some Experimental Examples.